-
- iTransfer Platinum Mac

- iPhone Transfer Platinum Mac
- iPad Mate Platinum Mac

- PodWorks Platinum Mac
- iPhone Ringtone Maker Mac
- iPhone Transfer Plus Mac

- iPad Mate for Mac
- PodWorks for Mac
- iPhone Contacts Transfer Mac
- DVD to Video for Mac

- DVD to MP4 Converter for Mac
- DVD to iPhone Converter for Mac
- Blu-ray to Video Converter for Mac

- DVD to iPad Converter for Mac
- DVD to Audio Converter for Mac
- DVD Creator for Mac
- Video Converter for Mac

- MP4 Converter for Mac
- 3D Movie Converter Mac
- Video Editor 2 for Mac
- Audio Converter Pro Mac
- YouTube Video Converter for Mac

- Download YouTube Video for Mac

- YouTube HD Video Downloader Mac
- YouTube to iTunes Converter Mac

- YouTube to iPhone Converter Mac
- HEVC/H.265 Converter for Mac
- iTransfer Platinum Mac
- More
ImTOO Video Cutter Guide
This guide will show you how to cut your favored segments out from video file and convert to popular video formats, please follow the steps below to complete the video cutting.
First, please download, install and run ImTOO Video Cutter.
Step1: Add video files
Click "File > Add Video Files" in the menu or click "Open Video File" button beside the "Source" box to load video file you want to cut.

Step 2: Choose destination folder
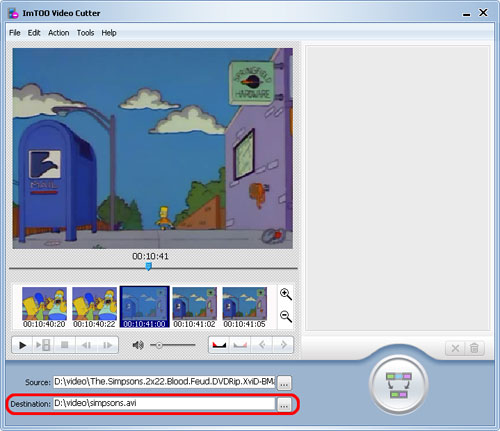
Click "Select Destination File Location" button beside "Destination" box to choose a path to save the output video files you cut.
Step3: Set cut point
Click "Play" to play the loaded video in the preview window. When you find the very start point you want, click "Set Start Point" button or click "Edit > Set Start Point" in the menu to set it as the start point.
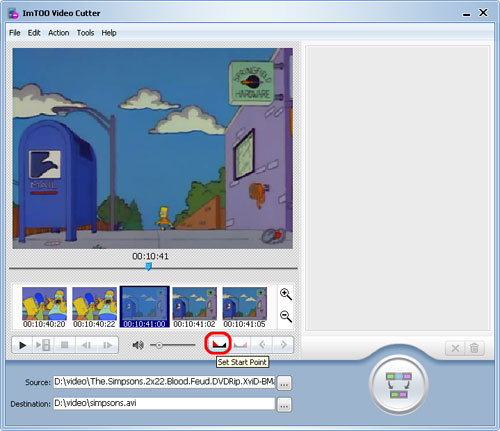
Click "Set End Point" button or click "Edit > Set End Point" in the menu to set the very point you want as the end point, thus a segment is displayed in the right segment list. Repeat the process to get more segments.
Tips:
1. If you're not satisfied with the segments you cut, choose the segment in the preview window, and click "Set Start Point" and "Set End Point" button to reset the segment. Or choose the segment in the segment list, and click "Remove" button below the frame list or click "Edit > Remove" in the menu to remove the selected segment, or click "Clear" button or click "Edit > Clear" in the menu to clear all the segments from the segment list.
2. The frame list below the preview window displays the current frame and other four frames before and after. Click "Zoom In" and "Zoom Out" button on the right of the frame list to browse the frames before and after the current frame by shorter or longer interval, and choose the exact frame to set it as the start point or end point. Click "Go to Previous Split Point" and "Go to Next Split Point" button to view the split points.
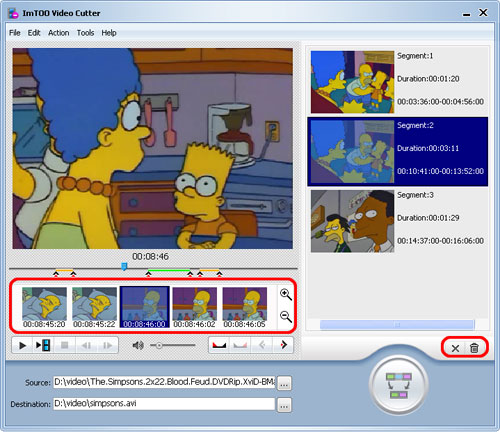
Step 4: Start splitting
After all the preparation completed, click "Cut" button at the right bottom or click "Action > Cut" in the menu to start cutting the video file.
When the cutting is in progress, you can click "Run background" button to let the program run in the background for lowering the running priority.
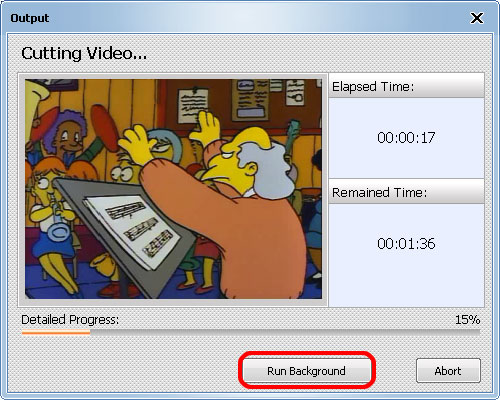
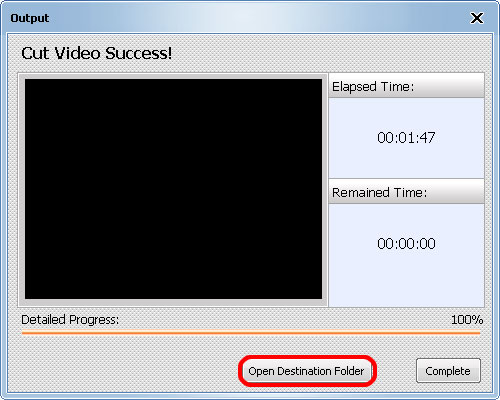
After cutting is completed, click "Open Destination Folder" to check the video files you cut.
Related Tips:


